 Geethaa Srinivasan
The Azure Speech Service provides developers with powerful tools to enable text-to-speech conversion in their applications. In this blog post, I will guide you through the steps involved in setting up the service, integrating it into an application, and converting text to audio, using a practical example.
Step 1: Setting Up Azure Speech Service
To begin, you need an Azure subscription and an API key:
- Create an Azure Account:
- Sign up for Azure and log in to the Azure portal.
- Create a Speech Service:
- In the Azure portal, create a Speech Service instance.
- Note down the API Key and Endpoint provided after creating the service. These will be required for your application.
Step 2: Adding Speech SDK to Your Project
To integrate the Speech SDK into your application:
- Open your project in the IDE.
- Navigate to File > Project Structure.
- Add the Speech SDK dependency as follows:
- Include the dependency line in your
build.gradlefile underdependencies. - Sync the project to ensure the SDK is included.
- Include the dependency line in your
Step 3: Setting Permissions
Before proceeding further, configure the necessary permissions in your AndroidManifest.xml file:
- Add permission for internet access:
<uses-permission android:name="android.permission.INTERNET" />- If recording audio, add:
<uses-permission android:name="android.permission.RECORD_AUDIO" />Step 4: Designing the Application Layout
Design the user interface for text-to-speech conversion:
- Use a LinearLayout in
activity_main.xml. - Include:
- An EditText for text input.
- A button labeled “Speak” will trigger the conversion.
Example:
<LinearLayout
    android:layout_width="match_parent"
    android:layout_height="match_parent"
    android:orientation="vertical">
    <EditText
        android:id="@+id/editText"
        android:layout_width="match_parent"
        android:layout_height="wrap_content"
        android:hint="Enter text here" />
    <Button
        android:id="@+id/speakButton"
        android:layout_width="wrap_content"
        android:layout_height="wrap_content"
        android:text="Speak" />
</LinearLayout>
Step 5: Implementing Text-to-Speech Conversion Logic
Create a separate class for handling the text-to-speech conversion:
- Text-to-Speech Conversion Class:
-
- Define two static final fields for the subscription key and region. Replace these with your Speech Service credentials.
Create a method convertTextToSpeech with
- two parameters:
contextandinputText. This method will handle the speech synthesis logic.
-
public class TextToSpeechConverter {
    private static final String SUBSCRIPTION_KEY = "your-subscription-key";
    private static final String REGION = "your-region";

    public static void convertTextToSpeech(Context context, String inputText) {
        try {
            SpeechConfig config = SpeechConfig.fromSubscription(SUBSCRIPTION_KEY, REGION);
            SpeechSynthesizer synthesizer = new SpeechSynthesizer(config);

            SpeechSynthesisResult result = synthesizer.SpeakText(inputText);
            if (result.getReason() == ResultReason.SynthesizingAudioCompleted) {
                Toast.makeText(context, "Speech synthesized successfully!", Toast.LENGTH_LONG).show();
            } else {
                Toast.makeText(context, "Error: " + result.getErrorDetails(), Toast.LENGTH_LONG).show();
            }
            result.close();
            synthesizer.close();
        } catch (Exception e) {
            e.printStackTrace();
        }
    }
}- Main Activity:
- In
MainActivity.javaHandle the button click to trigger theconvertTextToSpeechmethod.
- In
Button speakButton = findViewById(R.id.speakButton);
speakButton.setOnClickListener(v -> {
EditText editText = findViewById(R.id.editText);
String inputText = editText.getText().toString();
TextToSpeechConverter.convertTextToSpeech(this, inputText);
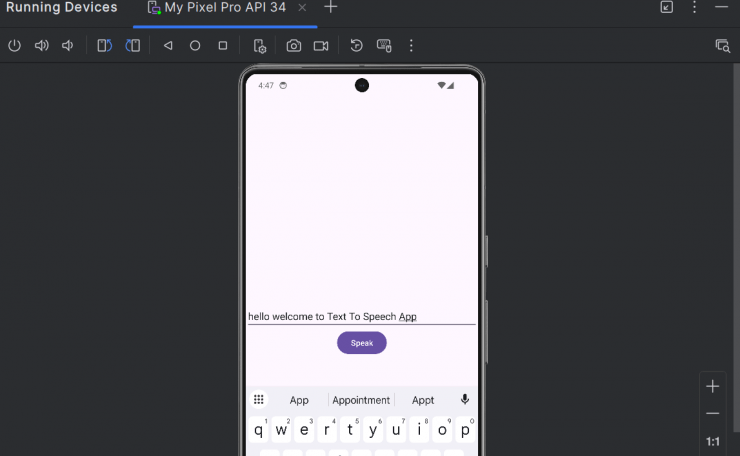
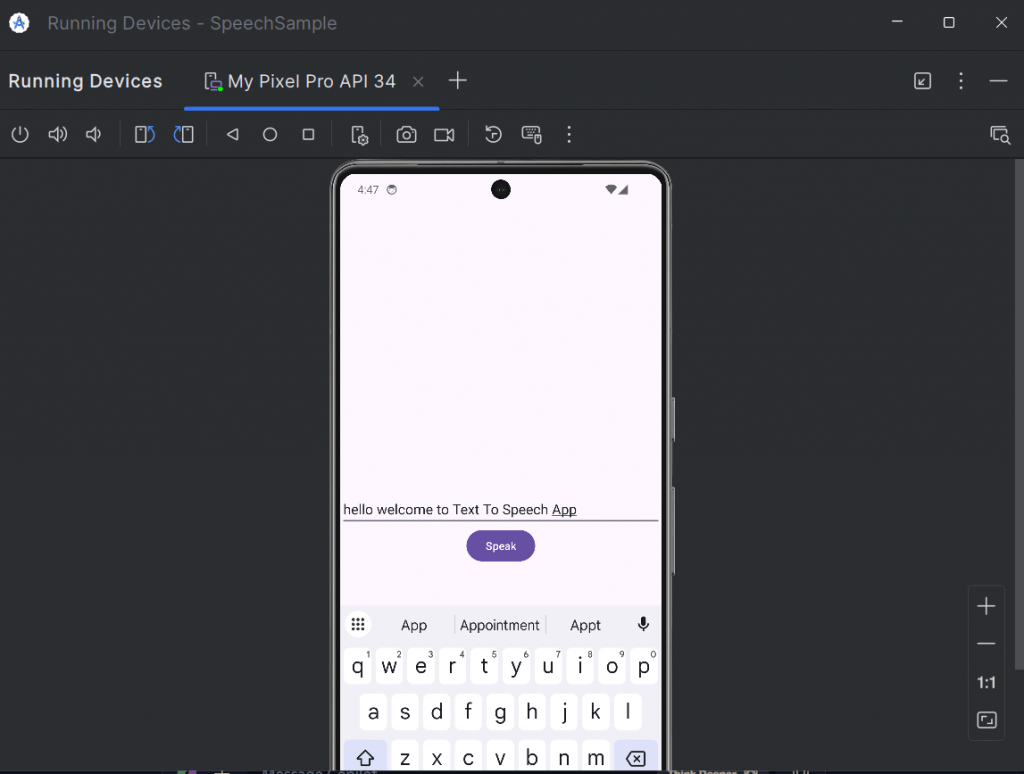
});Step 6: Testing the Application
- Run the application on an emulator or a physical device by enabling USB debugging.
- Enter text in the input field and click the “Speak” button.
- Listen to the generated audio output.
Conclusion
This tutorial taught us how to integrate Azure Speech Service into an Android application for text-to-speech conversion. By following these steps, we can develop applications that bring text to life through speech. To enhance the application’s functionality, we can include additional customization options, such as voice selection and speech synthesis configuration.